When I lifted my 09 GX470 I knew I wanted to do some mild off roading and so far, it’s been great for that. But I decided I really liked the look of a Snorkel. For those not familiar, on the GX and many vehicles, the intake air comes from the inner fender. So the airbox has a tube that just opens into the fender, and that’s it. This can cause problems when crossing deep water, as it can suck in water, or even if hitting a deep puddle and lots of water sloshing up into the fender. Now the air box does have drains in it, but it’s possible to get enough water in that it hydrolocks your engine, which is not good. So the snorkel raises the height of your intake to roof level, which also helps in regards to dust. So anyway, there are multiple options ranging in prices. I opted for a popular choice which is known as the “eBay Special” that I picked up for about $130. Now this model is for the Prado 120, so you would think it should work, but not without some work.
This job is not for the faint of heart. If you aren’t comfortable cutting some bigass holes in your car, as well as cutting plastic and unbolting things, this is not the job for you. Anyway, onto the work.
Preparation Work
First off, remove the fender liner, and the wheel. I’ve seen tutorial videos and posts, and a lot of people don’t remove the wheel, which seems to just make things really difficult. So anyway, let’s start there. But first, hydration. Always make sure to keep water around, getting dehydrated is no fun:
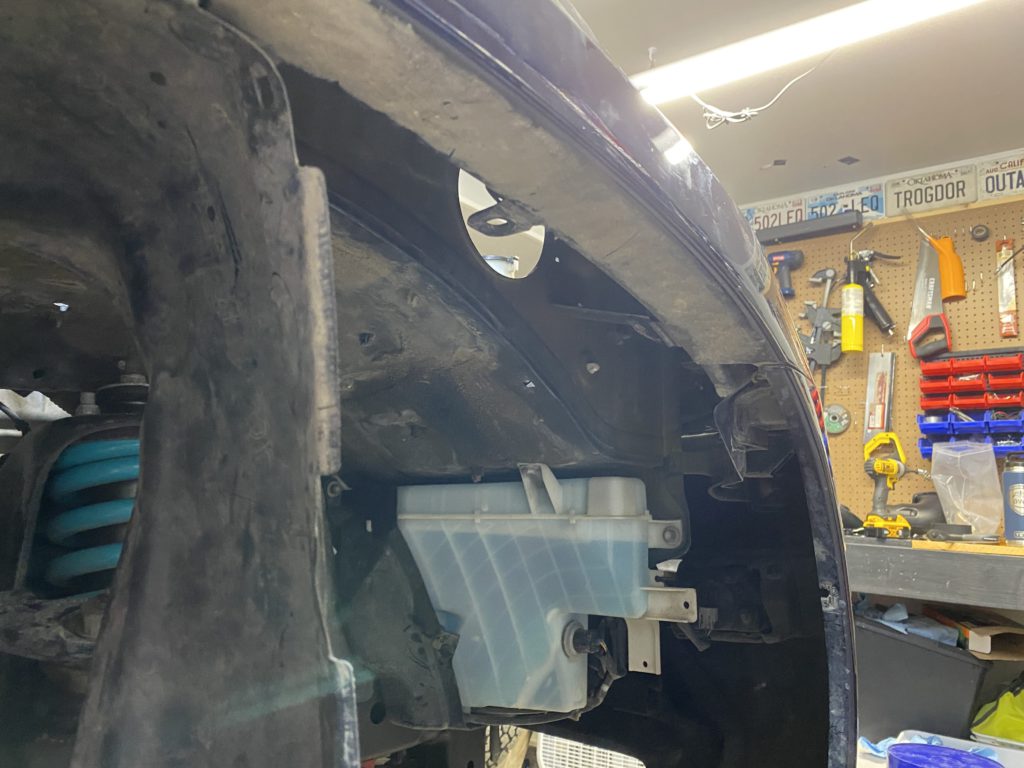
Once you remove the airbox, there are 3 10mm bolts (pretty short) holding the fender on, and then open up the passenger door, you’ll see a clip holding in a piece of fabric, pull that clip out, then you’ll find another 10mm bolt. These 4 bolts hold the fender on partially, and give you lots of wiggle room. Anyway, now you’re ready to get started on drilling.
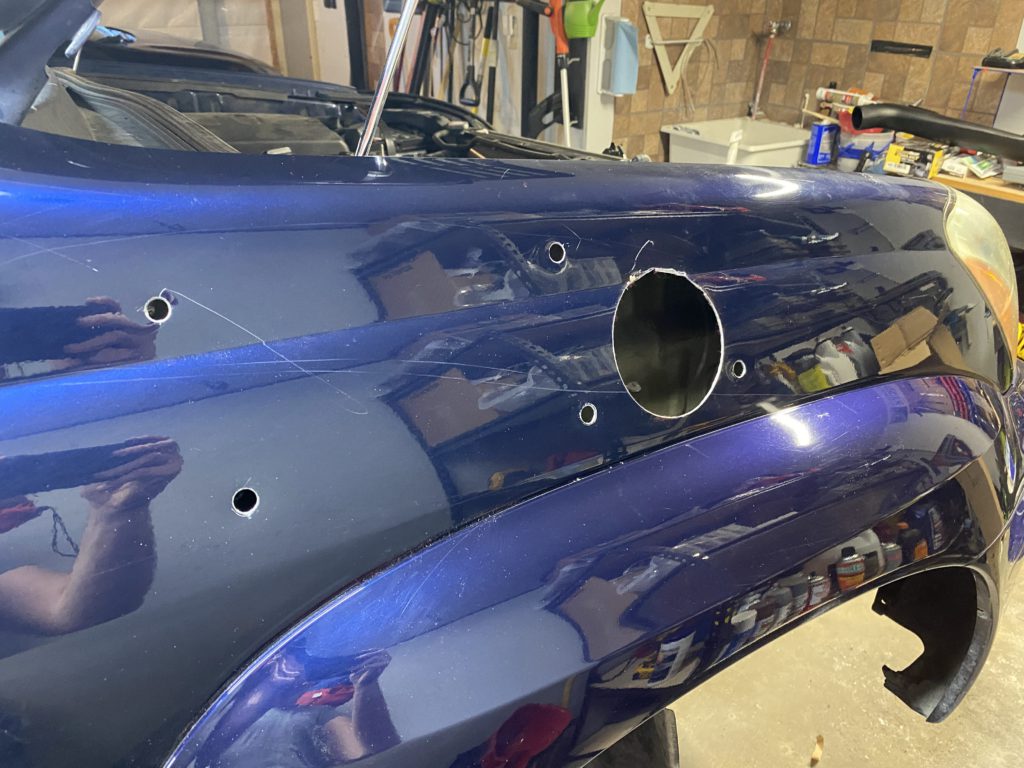
Drilling the holes
The snorkel comes with a template. And it’s pretty decent, but it’s not perfect.

With the template attached, it seems like you’re ready, but not so fast. I put the snorkel up and realized that it was too far back into the door area. I had to move it about 1/2″ forward, which seemed to line up much better.
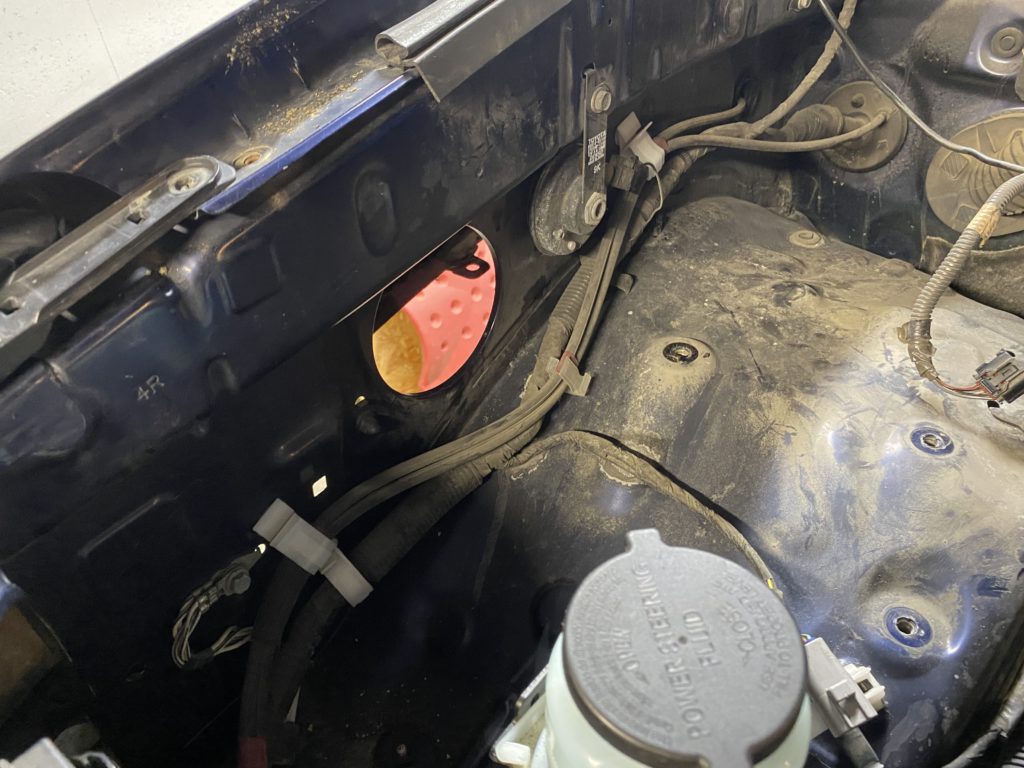
So now once you have test fit, it’s time to drill. I used a step bit, and a 4″ hole saw. Pro-tip: Get a quality hole saw. Mine was part of some $10 kit from Menards or Harbor Freight, and it sucked. Once you have drilled it out, make sure to paint over the exposed metal. Amazingly, the previous owner had a container of OEM touch up paint with the GX and it was still good!
Snorkel adjustments
So next is to get the snorkel ready. It comes with threaded rods to insert into the threaded holes. So I sunk them down all the way in. Note, there is an allen head and a smooth end. Make sure the allen head is out, this will make things hella easier later.
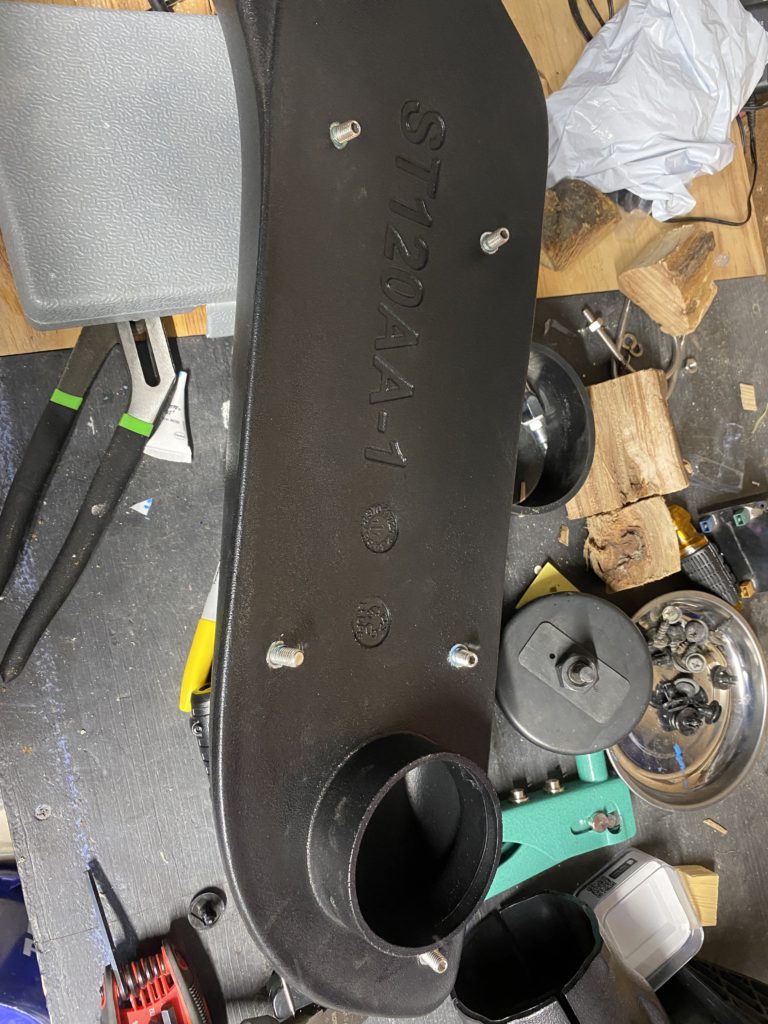
So now your holes are drilled, and you can test fit. So i did. First problem. Virtually none of the rods actually cleared the fender enough on the inside to catch a nut with the washer. So i realized the threads were not far enough “out” so I used the allen heads to work the threaded rods out another 1/4″ or so. I ended up having to adjust one of them later, inside the fender, so the allen head came in handy and I was able to work it out a couple threads and get the nut to catch. Anyway, now that you’ve verified your holes are good, time for the next piece.
A-Pillar shenanigans
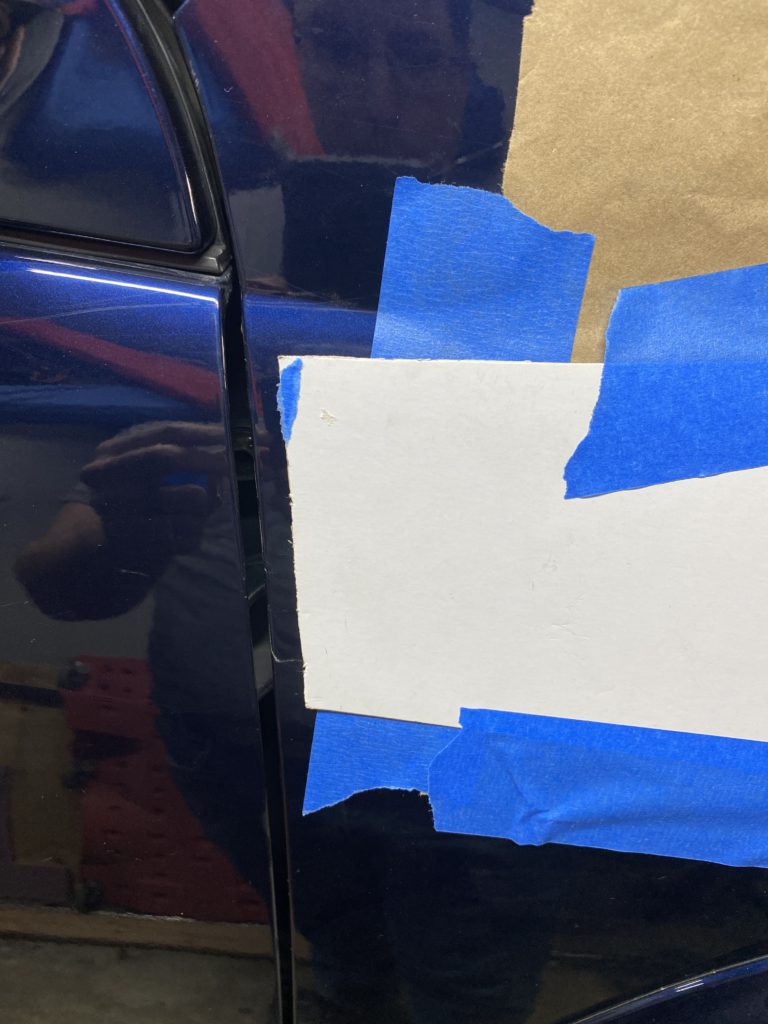
So the kit comes with a bracket with 4 rivets to secure the bracket to the a-pillar. I drilled two holes and realized the rivets were far too long to work in the small A-pillar
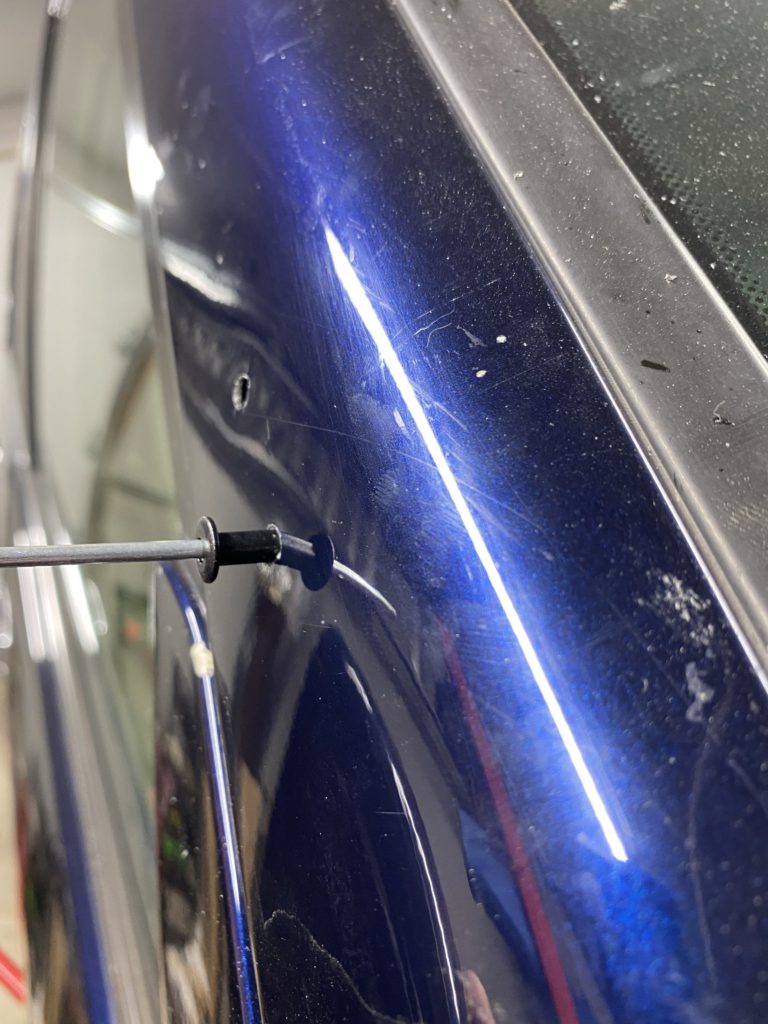
So with the rivets being garbage, I found some sheet metal screws. I filled the holes I already drilled with silicone.
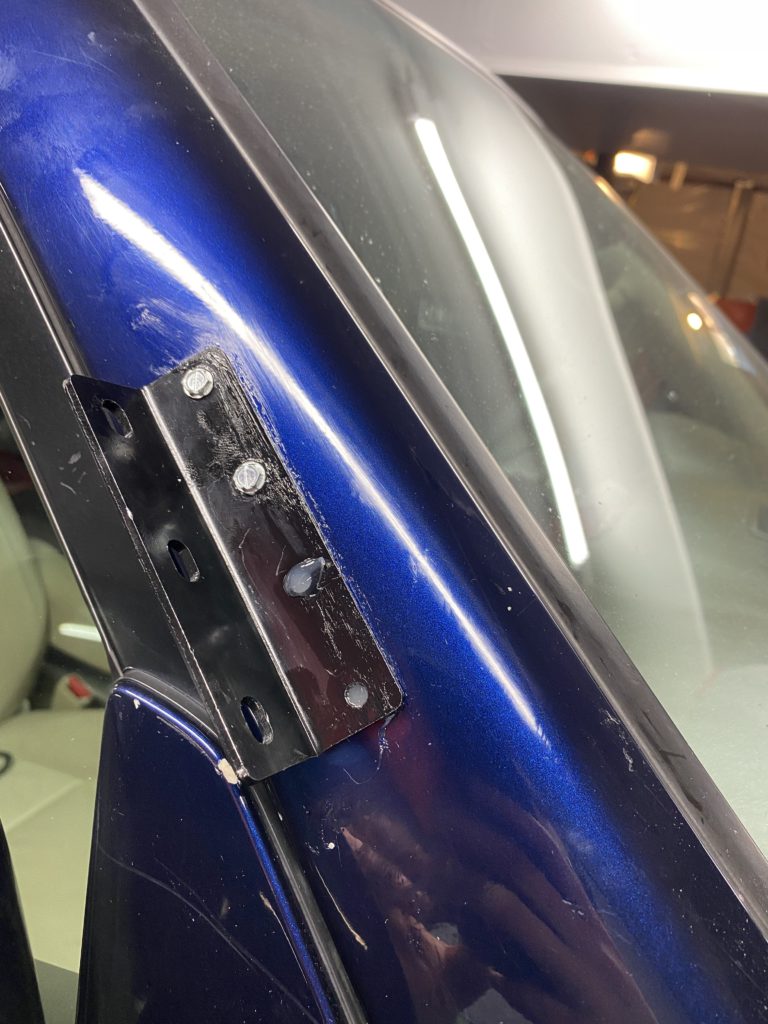
I put silicone under the bracket, and then screwed into it, then put more silicone on top to seal it up. I ended up putting a bead of silicone all around it to completely seal it up.
Internal Tubing
So now you have the piece connecting the snorkel to the airbox. You’ll have a heck of a time trying to shove it up there. once you do get it in the fender and out both holes, you’ll realize it sticks out way too much. If you put the rubber sleeve on it, you’ll find that it sticks out about an inch. So here comes the trimming:

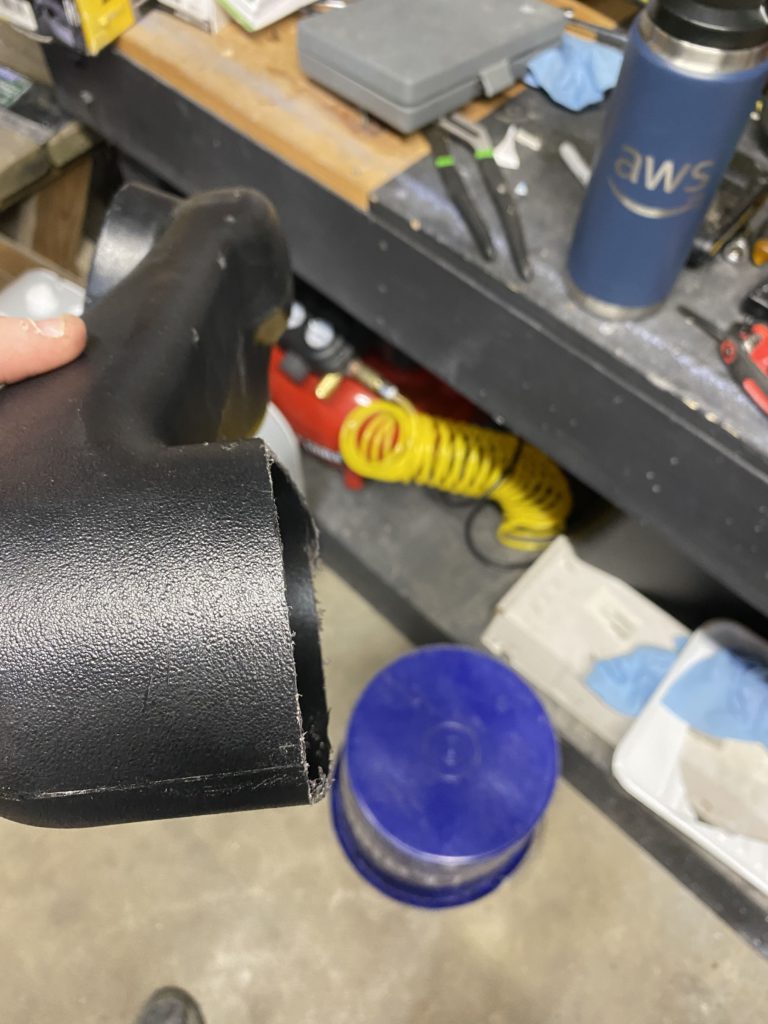
I also trimmed about 1/2″ off the actual snorkel tube. I also trimmed about 1/2″ or so off the rubber sleeve. With all this trimming, i was able to get a perfect fit with the sleeve, and with some clever and uncomfortable wiggling I was able to mate the two together
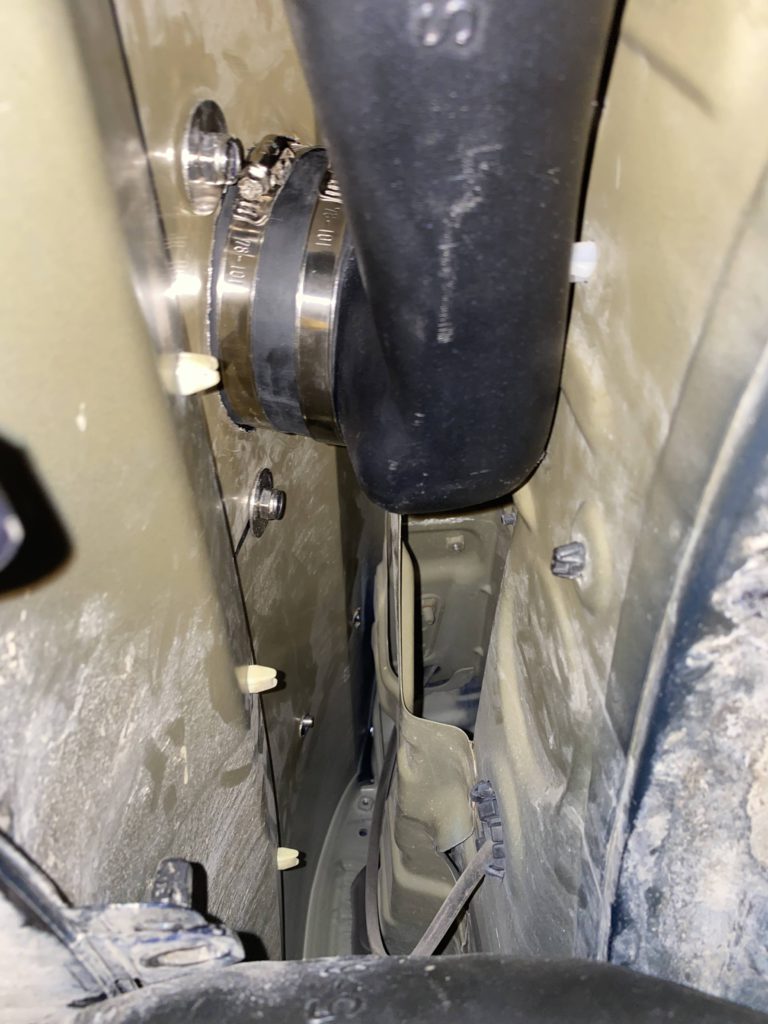
Nuts and Bolts
So now it’s time to actually attach things. The front bolt is pretty easy, as long as you can get a thread on it. The back two are also pretty straight forward. I had a heck of a time with the top bolt closest to the fender tube though. Because it was tilted down, I couldn’t get the washer to stick. So I used Super glue. I attached the nut to the washer using some super glue, and then threaded it on with my finger. Worked great! Then the wrench broke the super glue, and i was able to get it tightened down. However there was one that I just could not get to fit inside the fender. The top bolt closest to the passenger door just would not set into the fender. So i didn’t worry about tightening it. Once everything is tightened down, you’re ready for the intake step.
Intake connections
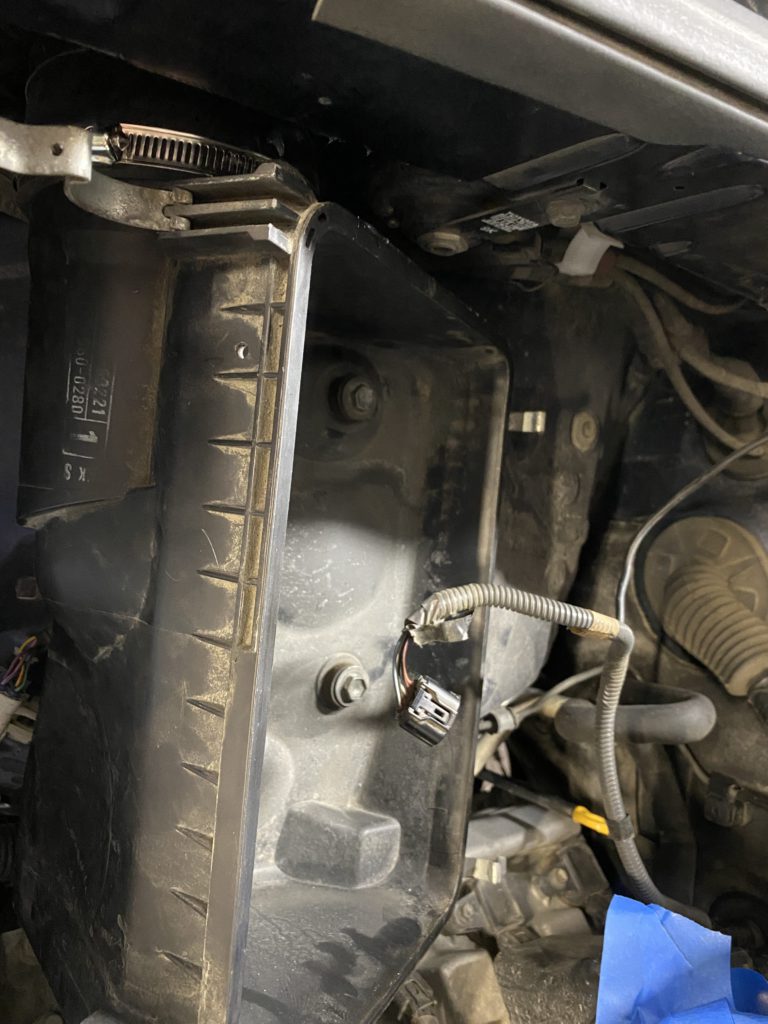
So for the airbox, it has a stock rubber hose piece, and it “clicks” onto the airbox. those little clips get in the way of the rubber sleeve. So i used a multi-tool to shave those pieces off. I did have to slice a small slit in the rubber sleeve to get it to fit completely. But once I did, i was able to again, using some uncomfortable manuevering, get the two mated up
Final results
It took me the better part of 4 hours to finish this up. I had done most of the fender liner removal, airbox removal and tire removal the night before so that helped out. Those stupid clips are horrible. But now i’m pretty happy with it!
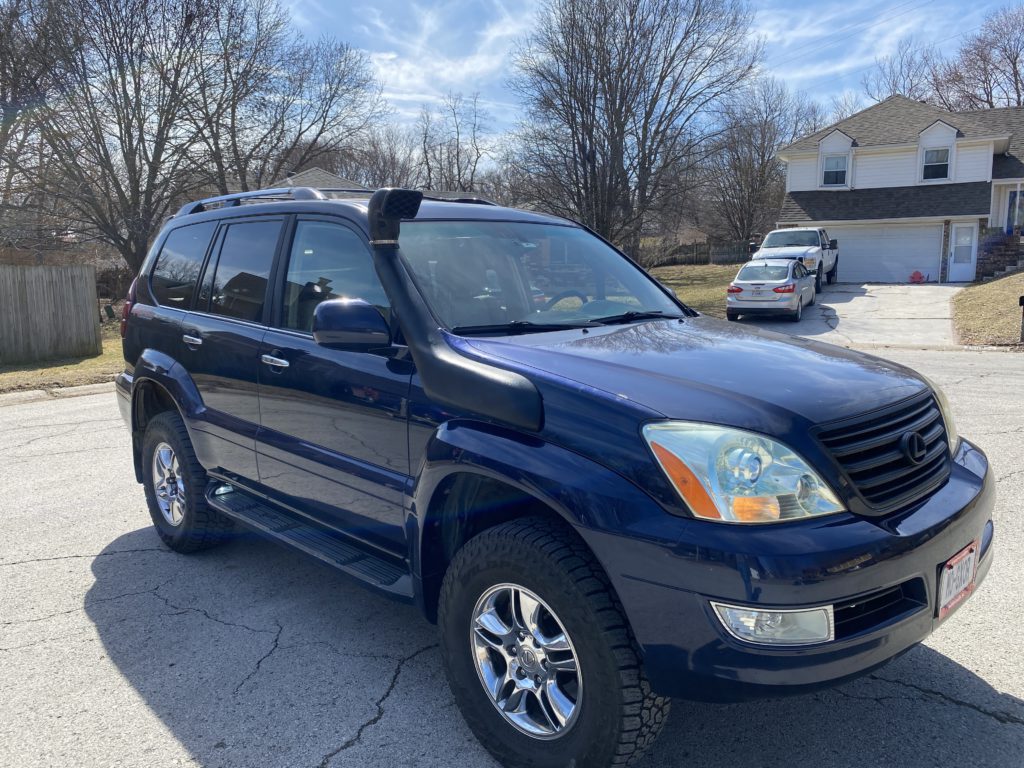
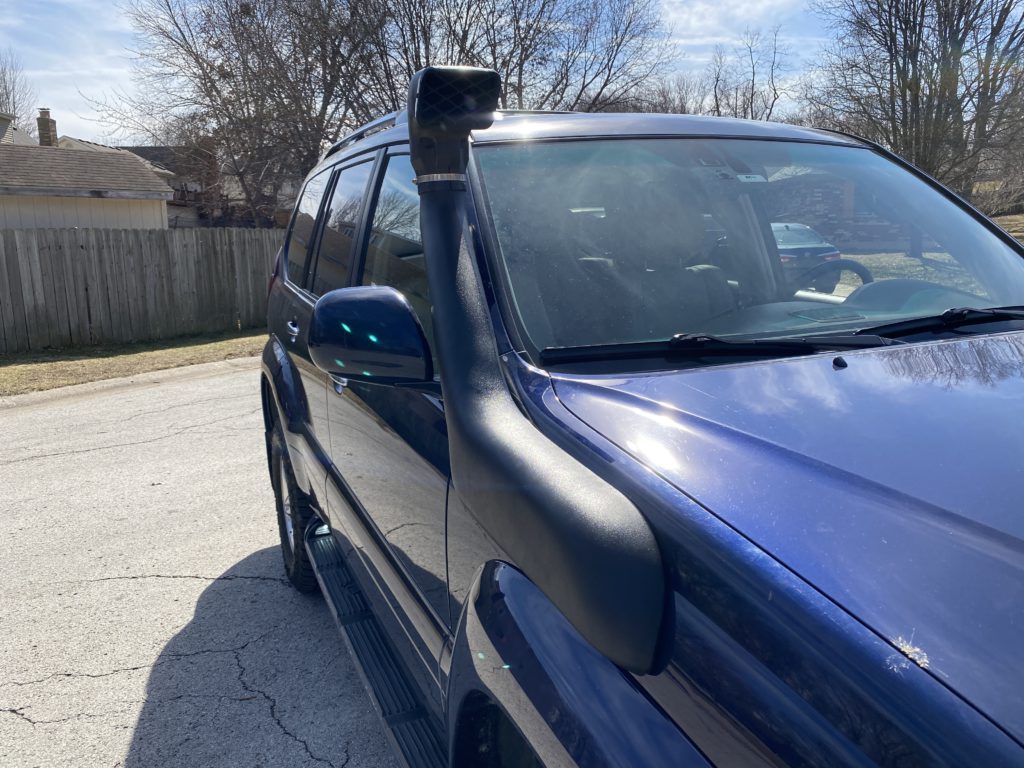
I hope this helps anyone else who buys the eBay Special snorkel. It’s not an easy install but when it’s done it looks pretty darn good!